How to Set Up a Safe and Tidy Charging Station
A dedicated charging station can make a noticeable difference in any home or workspace. Instead of searching for cables, borrowing outlets, or finding devices with low batteries, you can keep everything in one convenient location.
The best charging station does not need to be expensive or complicated. With the right location, a few useful accessories, and simple cable management, you can create a setup that is practical, tidy, and easy to maintain.
Choose the Right Location
Start by deciding where the charging station will be used most often. Common locations include:
– A hallway table near the entrance
– A bedside table
– A home office desk
– A kitchen counter
– A living room shelf
– A shared family workspace
Choose a spot that is easy to reach but does not interfere with daily activities. For example, a charging station near the entrance may be useful for phones and wireless earbuds, while a desk-based setup may work better for laptops and tablets.
The location should also be close to a wall outlet. Avoid stretching cords across walkways, under rugs, or through areas where they could be pulled accidentally. If the nearest outlet is too far away, consider moving the station rather than relying on long extension cords.
Decide Which Devices to Include
Make a list of the devices that need regular charging. This may include:
– Smartphones
– Tablets
– Smartwatches
– Wireless earbuds
– E-readers
– Portable game systems
– Cameras
– Fitness trackers
– Rechargeable batteries
Knowing what you plan to charge helps you choose the right number and type of ports. It also prevents the station from becoming overloaded with unnecessary cables and accessories.
If several people will use the station, assign each device a specific space. Small labels, baskets, or separate compartments can help everyone find their items quickly.
Select a Suitable Power Source
A charging station usually needs one central power source, such as a multi-port wall charger, power strip, or charging hub. Choose a product from a reputable manufacturer and check that it is designed to support the devices you plan to connect.
A multi-port USB charger can reduce clutter by replacing several individual charging blocks. Some models include different types of ports, so check your cable requirements before buying one.
When choosing a power source, consider:
– The number of charging ports
– The types of ports available
– The total power output
– The length of the attached cable
– Built-in safety features
– Whether it fits your available space
Avoid connecting too many devices to a single power source. Follow the manufacturer’s instructions and do not use equipment that shows signs of damage, overheating, or unusual noise.
Gather the Necessary Cables
Use the correct cable for each device. Depending on your equipment, you may need USB-C, Lightning, Micro-USB, or other connector types.
It is helpful to keep one cable for each regular charging position. This reduces the need to move cables between devices and makes the station easier to use.
Choose cables that are long enough to reach the devices comfortably but not so long that they create loops and tangles. Shorter cables often work well on a desk or shelf, while longer cables may be useful for larger devices.
Inspect cables regularly. Replace any cable with:
– Frayed or exposed wires
– Bent connectors
– Loose ends
– Cracked insulation
– Signs of heat damage
Do not force a connector into a device. If it does not fit easily, check that you are using the correct cable.
Add a Base or Organizer
A base gives the charging station a defined home. You can use a store-bought charging dock, a cable organizer, a small tray, or a divided storage box.
Look for an organizer with enough room for your largest device. A smartphone may fit in a narrow slot, but a tablet may need a wider space. If you plan to charge devices inside protective cases, make sure the slots are wide enough.
Useful organizer features include:
– Separate spaces for different devices
– Non-slip feet
– Cable openings
– A stable, weighted base
– Ventilation around the devices
– Easy access to each connector
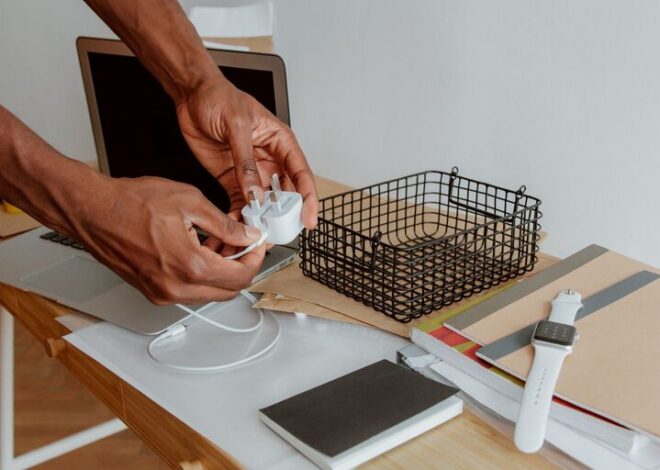
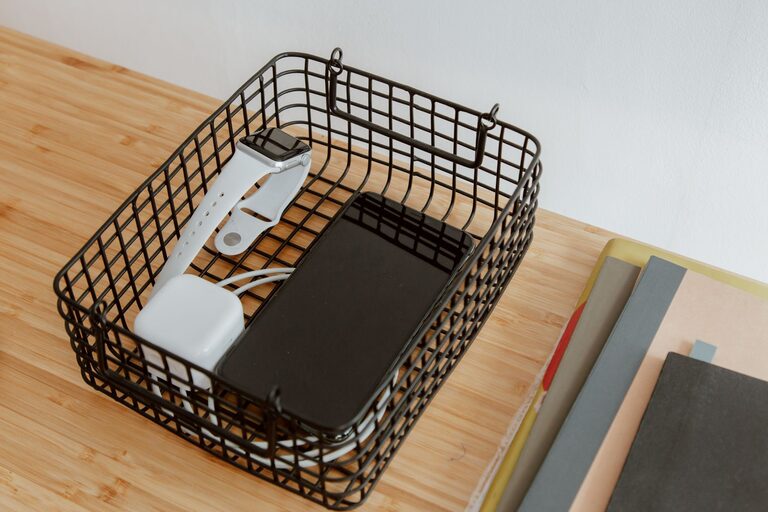
A simple tray can also work well. Place the charger and cable ends inside the tray, then use small cable clips to keep each connector in position.
Organize the Cables
Cable management is one of the most important parts of a charging station. Without it, even a well-designed setup can quickly become messy.
Try these simple methods:
Use Cable Clips
Adhesive cable clips can hold each cable near its charging position. Attach them to the back or edge of the organizer so the connectors remain easy to reach.
Label Similar Cables
If several cables look alike, add small labels near the ends. Labels such as “phone,” “tablet,” or “watch” make it easier to select the right cable.
Secure Extra Length
Wrap excess cable loosely with reusable hook-and-loop straps. Avoid tight knots or sharp bends, which may damage the cable over time.
Keep Cables Separate
Use a divider or small container for cables that are not connected to the charger. This prevents spare cables from mixing with the ones used every day.
Consider Ventilation and Placement
Charging devices may become warm, especially when several are connected at the same time. Place the station on a hard, stable surface with enough open space around the charger and devices.
Avoid placing the station:
– Under blankets or clothing
– Inside a closed drawer while charging
– Near sinks or other sources of water
– In direct sunlight
– Beside heaters or other hot surfaces
– In a location where liquids can spill easily
Do not cover a charger with paper, fabric, or other materials that could restrict airflow. Keeping the area clear helps the equipment operate as intended.
Make the Station Easy to Use
A charging station works best when it fits naturally into your routine. Keep frequently charged devices in the most accessible positions and place less-used items farther back.
You may also want to add a small shelf or stand for devices that are charging. This keeps screens visible and prevents phones from resting directly on the floor or a crowded desk.
For a shared station, create simple rules:
– Return cables to their assigned positions
– Do not unplug another person’s device without permission
– Keep food and drinks away from the station
– Remove fully charged devices when practical
– Report damaged cables or chargers promptly
These habits help the area stay organized and available for everyone.
Review the Setup Regularly
Your charging needs may change as you replace devices or add new accessories. Review the station every few months and remove cables that are no longer needed.
Check for dust, loose connections, damaged cords, and overloaded outlets. Clean the organizer with a dry or slightly damp cloth when the power source is disconnected. Follow the cleaning instructions for each product.
If the station becomes crowded, consider adding a second location rather than stacking too many devices in one area. A separate station for work devices and personal devices can make the setup easier to manage.
Final Thoughts
A well-planned charging station keeps devices together, reduces cable clutter, and makes daily routines more convenient. Start with a safe location, choose a suitable power source, organize cables carefully, and leave enough space for ventilation.
You can create an effective station with a simple tray and a few cable clips, or build a more polished setup with a dedicated charging dock. The most important goal is to make charging simple, accessible, and easy to maintain.

Related Posts