How to Make Your Kitchen Counters Clutter-Free
A clutter-free kitchen counter can make the entire room feel cleaner, calmer, and easier to use. When appliances, mail, dishes, and food containers collect on every surface, even simple tasks can become frustrating. The good news is that you do not need a large kitchen or expensive storage products to create a more organized space.
With a few practical changes, you can keep the items you use most within reach while giving everything else a proper home. Follow these steps to clear your counters and make the new system easier to maintain.
Start With a Clean Slate
Before deciding where things should go, remove everything from the counters. Place the items on a table, island, or clean section of the floor. This gives you a clear view of how much you have and helps you avoid organizing around existing clutter.
Clean the empty counters with a suitable household cleaner, then sort the items into groups:
– Use every day
– Use several times a week
– Use occasionally
– Belongs in another room
– Needs to be donated, recycled, or discarded
Be honest about what you actually use. An appliance that has not been touched in months may be taking up valuable space. If you rarely use it, consider storing it in a cabinet or pantry instead.
Create Countertop Rules
A few simple rules can prevent clutter from returning. Decide what deserves a permanent place on the counter and what should be put away after use.
For example, you might choose to keep only these items visible:
– A coffee maker used each morning
– A knife block
– A fruit bowl
– A small container for cooking utensils
– A cutting board used regularly
Everything else should have a storage location. This does not mean the kitchen must look empty. The goal is to make sure the items on display are useful, intentional, and easy to manage.
Try to leave at least one open section of counter for food preparation. Even a small clear area can make chopping, mixing, and serving much easier.
Store Appliances Based on Frequency
Large appliances are often the main source of counter clutter. Blenders, mixers, toasters, air fryers, and slow cookers can quickly fill the available workspace.
Use a simple frequency rule:
Daily-use appliances
Keep appliances you use every day in an easy-to-reach location. If possible, place them together in one area rather than spreading them across the counter.
Weekly-use appliances
Store these in a nearby cabinet, pantry, or sturdy shelf. They should be accessible without occupying permanent counter space.
Occasional appliances
Items used only a few times a year can go on a higher shelf or in a less convenient storage area. Labeling boxes can make them easier to find later.
If an appliance is difficult to lift or has a cord that is hard to manage, avoid placing it in an awkward location. Safe, practical storage is more important than saving a small amount of space.
Use Vertical Storage
When counter space is limited, look upward. Vertical storage can help you organize supplies without taking over the work surface.
Consider adding:
– A wall-mounted rail for utensils
– Hooks for measuring cups or mugs
– A magnetic strip for suitable kitchen tools
– A narrow shelf for spices
– A pegboard for lightweight accessories
– A tiered stand for frequently used ingredients
Make sure mounted storage is installed securely and does not interfere with cabinets, windows, or cooking areas. Keep heat-sensitive items away from the stove, and avoid placing anything where it could fall into food or onto a hot surface.
Organize the Space Around the Sink
The area around the sink often becomes crowded with soap, sponges, brushes, and cleaning products. A small amount of organization can make this zone look much neater.
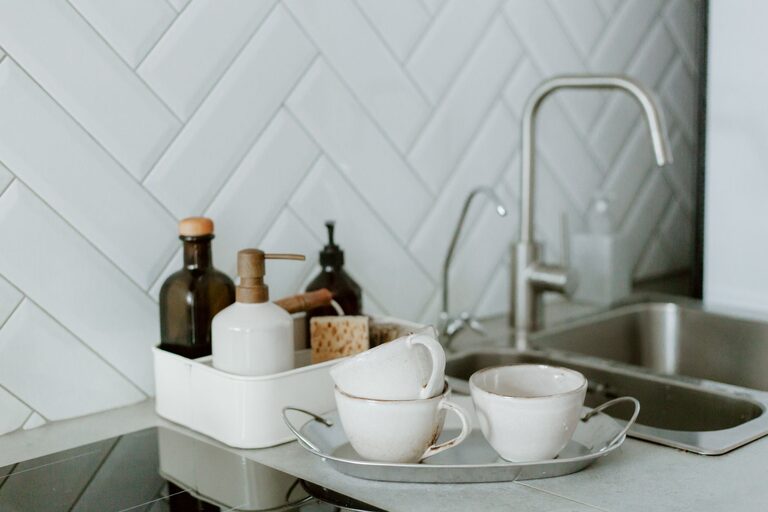
Use a tray to group hand soap and dish soap together. Store scrubbers in a holder that allows water to drain, and replace worn sponges regularly. If you have room beneath the sink, keep extra supplies there rather than on the counter.
Only keep the cleaning products you use daily within reach. Store backups in a cabinet or pantry, preferably in a designated container that prevents leaks from spreading.
Give Small Items a Home
Small objects are easy to ignore because each one takes up little space. Together, however, they can make a counter look crowded. Common examples include keys, receipts, coupons, pens, chargers, and loose change.
Create a small drop zone away from the main food preparation area. A bowl, basket, or wall organizer near the kitchen entrance can collect these items without letting them spread across the counters.
For mail and papers, use a vertical file or a designated tray. Sort the contents regularly so the container does not become another source of clutter.
Make Cabinets Work Harder
A crowded counter may be a sign that the cabinets are not being used efficiently. Take a look at the available storage and adjust the layout.
Helpful changes include:
– Grouping similar items together
– Moving rarely used items to the back
– Using shelf risers to create extra levels
– Adding drawer dividers for utensils
– Using clear bins for small supplies
– Placing everyday dishes on lower shelves
– Storing lids next to their matching containers
Avoid packing cabinets so tightly that putting items away becomes difficult. When storage is inconvenient, people are more likely to leave things on the counter.
Manage Cords and Chargers
Appliance cords can make an otherwise tidy counter look messy. Keep cords short and controlled when an appliance is in use, but do not wrap them around hot appliances or place them near water.
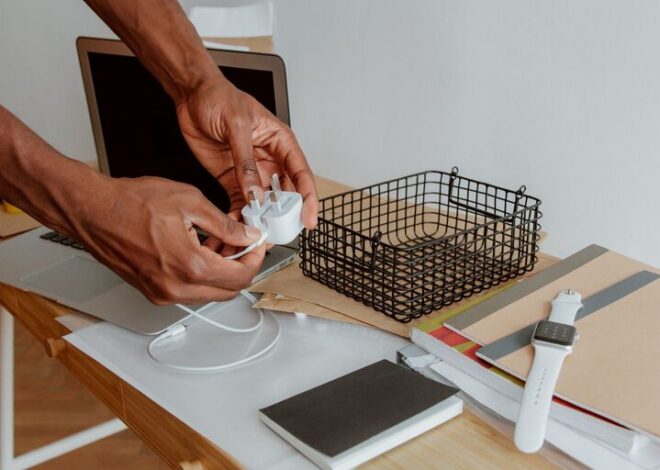
For small electronics, use cable clips or a small box to keep chargers together. Labeling cords can also help prevent confusion if several devices use similar cables.
When possible, store chargers outside the kitchen unless they are needed there. A kitchen counter should support cooking and cleaning rather than become a general charging station.
Establish a Daily Reset
A short daily reset is one of the easiest ways to maintain a clutter-free counter. Set aside five to ten minutes at the end of the day to return items to their proper locations.
Use this checklist:
- Put away clean dishes.
- Return appliances to their storage areas.
- Move mail and personal items to the drop zone.
- Wipe the counters.
- Empty or organize the sink area.
- Check whether any food needs to be stored.
Doing these tasks consistently prevents small messes from becoming overwhelming. You can also make the reset part of an existing routine, such as cleaning up after dinner.
Use the One-In, One-Out Rule
When you bring a new kitchen item home, decide whether something else can leave. This rule is especially useful for mugs, food containers, utensils, and small appliances.
Before buying another item, ask:
– Do I already own something that performs the same function?
– Where will this item be stored?
– Will I use it often enough to justify the space?
– Can I remove or donate an older item?
Being selective about new purchases helps protect the counter space you have already created.
Keep the System Flexible
Your kitchen should be organized around the way you live, not around a picture-perfect design. If a system is difficult to follow, adjust it.
A busy household may need a basket for items that need to be returned to other rooms. Someone who cooks often may prefer to keep more tools visible. The best arrangement is one that makes daily tasks easier and encourages everyone to put things away.
Start with one section of the counter rather than trying to change the entire kitchen in one afternoon. Once that area works well, use the same principles elsewhere. With clear storage zones, practical rules, and a quick daily reset, your counters can stay clean, open, and ready for the next meal.

Related Posts